Repairing a Screen Door Roller for Smooth Operation and Easy Access
Fixing a Screen Door Roller A Step-by-Step Guide
Screen doors are a wonderful addition to any home, allowing fresh air to flow through while keeping bugs out. However, the rollers on these doors can wear out over time, leading to difficulties in opening and closing. If you're experiencing problems with your screen door roller, don’t worry! You can fix it with just a few tools and some basic know-how. This article will guide you through the process of fixing a screen door roller, ensuring smooth operation and extending the life of your door.
Step 1 Gather Your Tools and Materials
Before starting the repair, you’ll need to gather some tools. You will typically require
- Screwdriver (flathead or Phillips, depending on your door's screws) - Pliers - Lubricant (such as silicone spray or WD-40) - Replacement rollers (if necessary) - A clean rag
Make sure you have everything within reach before you start, to avoid interruptions during the process.
Step 2 Remove the Screen Door
To effectively access the rollers, you may need to remove the screen door from its frame. This usually involves lifting the door straight up and out of the track. Be cautious, as screen doors can be lightweight but awkwardly shaped. If you have someone to help, it’s a good idea to ask them to assist you. Once removed, lay the door flat on a stable surface for easier access to the rollers.
Step 3 Inspect the Rollers
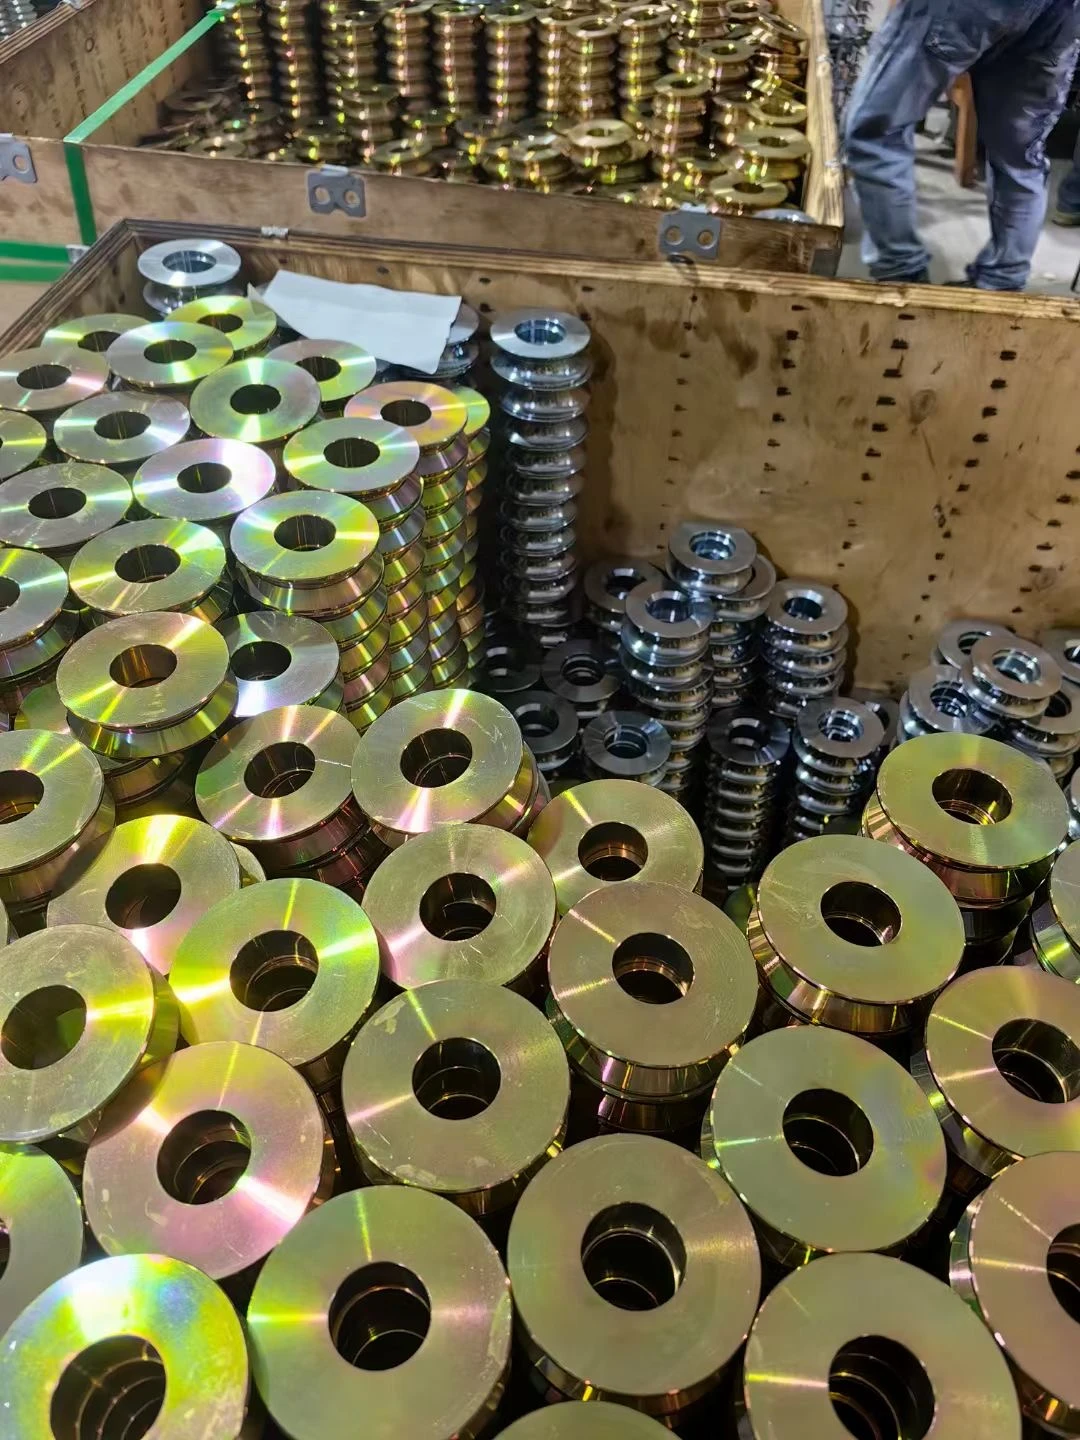
With the screen door laid flat, take a close look at the rollers. Check for any visible damage, such as cracks or bent pieces. If the rollers appear damaged and cannot be repaired, you will need to replace them. Most hardware stores sell replacement rollers that are compatible with various screen door models.
Step 4 Remove the Old Rollers
fixing a screen door roller

Using your screwdriver, unscrew the existing rollers from the bottom of the screen door. They are typically secured with one or two screws. If the screws are rusted or difficult to turn, use pliers to help grip and loosen them. Once the screws are removed, carefully take out the old rollers.
Step 5 Install the New Rollers
Take your new rollers and position them in the same location where the old ones were removed. Ensure they fit properly in the designated slots. Secure them in place by screwing them in tightly, but avoid over-tightening, which could damage the door material.
Step 6 Lubricate the Rollers and Tracks
Before re-hanging the door, it’s important to lubricate both the rollers and the door tracks to ensure smooth operation. Apply a small amount of lubricant to the rollers, and then wipe the excess with a clean rag. Next, apply lubricant to the door tracks, allowing it to penetrate any areas where friction may occur.
Step 7 Reattach the Screen Door
With the new rollers installed and everything lubricated, it’s time to reattach the screen door. Lift the door back into the track carefully, ensuring the rollers fit into the grooves correctly. Test the door to make sure it opens and closes smoothly. If the door feels off-balance, you may need to adjust the height of the rollers by turning the adjustment screws, which are usually located at the ends of the rollers.
Step 8 Final Adjustments and Maintenance
After reinstallation, conduct a final check to ensure everything works properly. If the door still doesn’t slide as it should, double-check the alignment and make necessary adjustments. Regular maintenance, such as cleaning the tracks and lubricating the rollers every few months, will help prolong the life of your screen door and keep it functioning optimally.
Conclusion
Fixing a screen door roller may seem daunting, but with the right tools and a bit of patience, you can handle it yourself. Not only will this save you money on repairs, but it will also improve your overall experience with your screen door. By following the steps outlined above, you can enjoy the fresh air without the hassle of a malfunctioning door. Happy repairing!
-
Window Lock Handle for Security UpgradesNewsJun.20,2025
-
Proper Lubrication Techniques for Sliding Gate WheelsNewsJun.20,2025
-
Ornamental Iron Castings for Interior DesignNewsJun.20,2025
-
Creative Ways to Decorate Around a Cast Iron FireplaceNewsJun.20,2025
-
Cast Iron Pipe and Fitting for Plumbing SystemsNewsJun.20,2025
-
Cast Iron Panel Casting for Architectural ElementsNewsJun.20,2025


