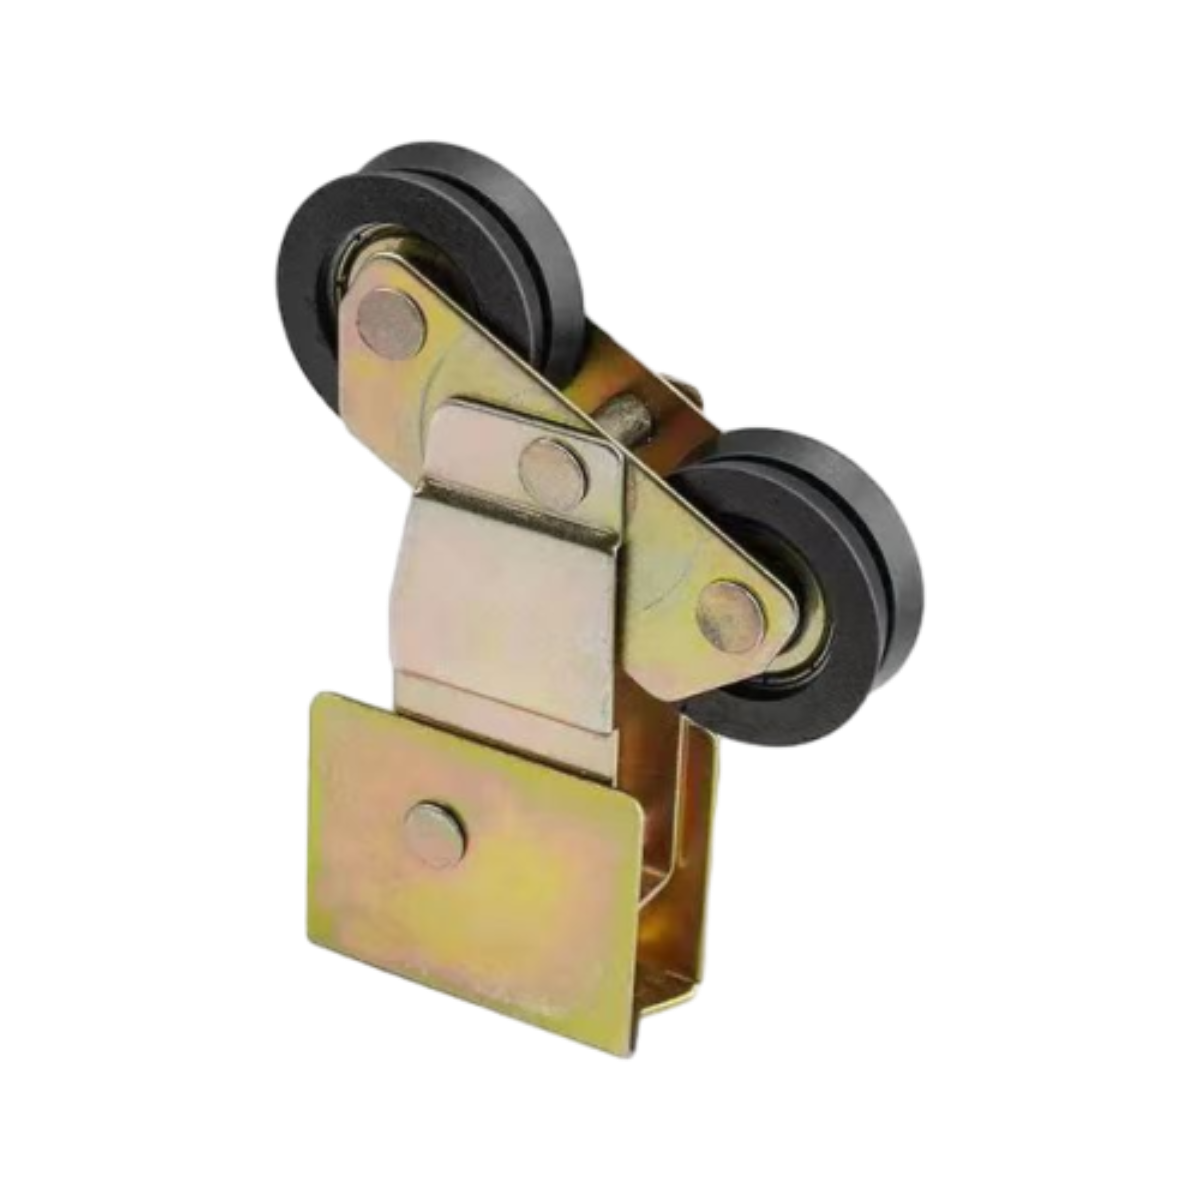
Guidelines for Fine-Tuning the Wheels of Your Sliding Door for Smooth Operation
Adjusting Sliding Door Wheels A Comprehensive Guide
Sliding doors are a popular choice for many homeowners due to their elegance and efficiency in saving space. However, over time, the wheels of these sliding doors may become misaligned or damaged, leading to frustrating operation issues. Properly adjusting the sliding door wheels not only ensures smooth functionality but also extends the life of your doors. In this article, we will explore how to adjust sliding door wheels effectively.
Understanding Sliding Door Mechanics
Sliding doors typically operate on a set of wheels that glide along a track. These wheels can sometimes become worn due to constant use, causing the door to stick or become difficult to slide. Additionally, environmental factors such as dirt, dust, and moisture can contribute to wheel dysfunction. Being aware of how your sliding door functions will enable you to identify when adjustments are necessary.
Tools Required
Before you begin the adjustment process, gather the following tools
1. Screwdriver (flat-head and Phillips) 2. Level 3. Cleaning supplies (cloth, soapy water) 4. Lubricant (silicone-based spray or similar)
Step-by-Step Adjustment Guide
1. Inspect the Wheels Start by examining the wheels closely. Look for signs of wear, such as cracks, flat spots, or missing pieces. If you notice severe damage, consider replacing the wheels altogether.
adjusting sliding door wheels

2. Clean the Wheels and Track Dirt buildup can hinder wheel movement. Use a cloth and soapy water to clean the wheels and the track. Ensure you remove any debris that might be lodged in the track.
3. Adjust Wheel Height Many sliding doors have adjustable wheels. Look for adjustment screws typically located at the bottom of the door. Using the screwdriver, turn the screws clockwise to raise the door and counterclockwise to lower it. It’s advisable to adjust both sides evenly to maintain balance.
4. Test the Door Movement After making adjustments, slide the door back and forth to check if it operates smoothly. It’s essential to make minor adjustments and test frequently. This approach helps avoid raising or lowering the door too much, which could lead to misalignment.
5. Level the Door Use a level to check if the door is hanging evenly. If one side is higher than the other, adjust the wheels accordingly until the door is level. This step is crucial, as an unlevel door can lead to further operational issues.
6. Lubricate the Wheels and Track After the door is adjusted and aligned, apply a silicone-based lubricant to the wheels and track. This helps reduce friction and promotes smoother operation. Remember not to over-lubricate, as excess lubricant can attract dirt.
7. Final Inspection Once you have made all adjustments, take a moment to inspect the door. Ensure it opens and closes without excessive effort, and that the gaps around the edges are even.
Maintenance Tips
To keep your sliding doors in optimal condition, it’s essential to perform regular maintenance. Clean the wheels and track every few months, and check for signs of wear. If your sliding door becomes difficult to operate despite regular maintenance, consider seeking professional help to assess potential underlying issues.
By following these steps to adjust your sliding door wheels, you can ensure their longevity and enhance your home’s functionality. Remember that a well-functioning sliding door can significantly improve accessibility and comfort in any space, making it a worthwhile investment of your time and effort.
-
Wrought Iron Components: Timeless Elegance and Structural StrengthNewsJul.28,2025
-
Window Hardware Essentials: Rollers, Handles, and Locking SolutionsNewsJul.28,2025
-
Small Agricultural Processing Machines: Corn Threshers, Cassava Chippers, Grain Peelers & Chaff CuttersNewsJul.28,2025
-
Sliding Rollers: Smooth, Silent, and Built to LastNewsJul.28,2025
-
Cast Iron Stoves: Timeless Heating with Modern EfficiencyNewsJul.28,2025
-
Cast Iron Pipe and Fitting: Durable, Fire-Resistant Solutions for Plumbing and DrainageNewsJul.28,2025
-
 Wrought Iron Components: Timeless Elegance and Structural StrengthJul-28-2025Wrought Iron Components: Timeless Elegance and Structural Strength
 -
 Window Hardware Essentials: Rollers, Handles, and Locking SolutionsJul-28-2025Window Hardware Essentials: Rollers, Handles, and Locking Solutions
 -
 Small Agricultural Processing Machines: Corn Threshers, Cassava Chippers, Grain Peelers & Chaff CuttersJul-28-2025Small Agricultural Processing Machines: Corn Threshers, Cassava Chippers, Grain Peelers & Chaff Cutters


