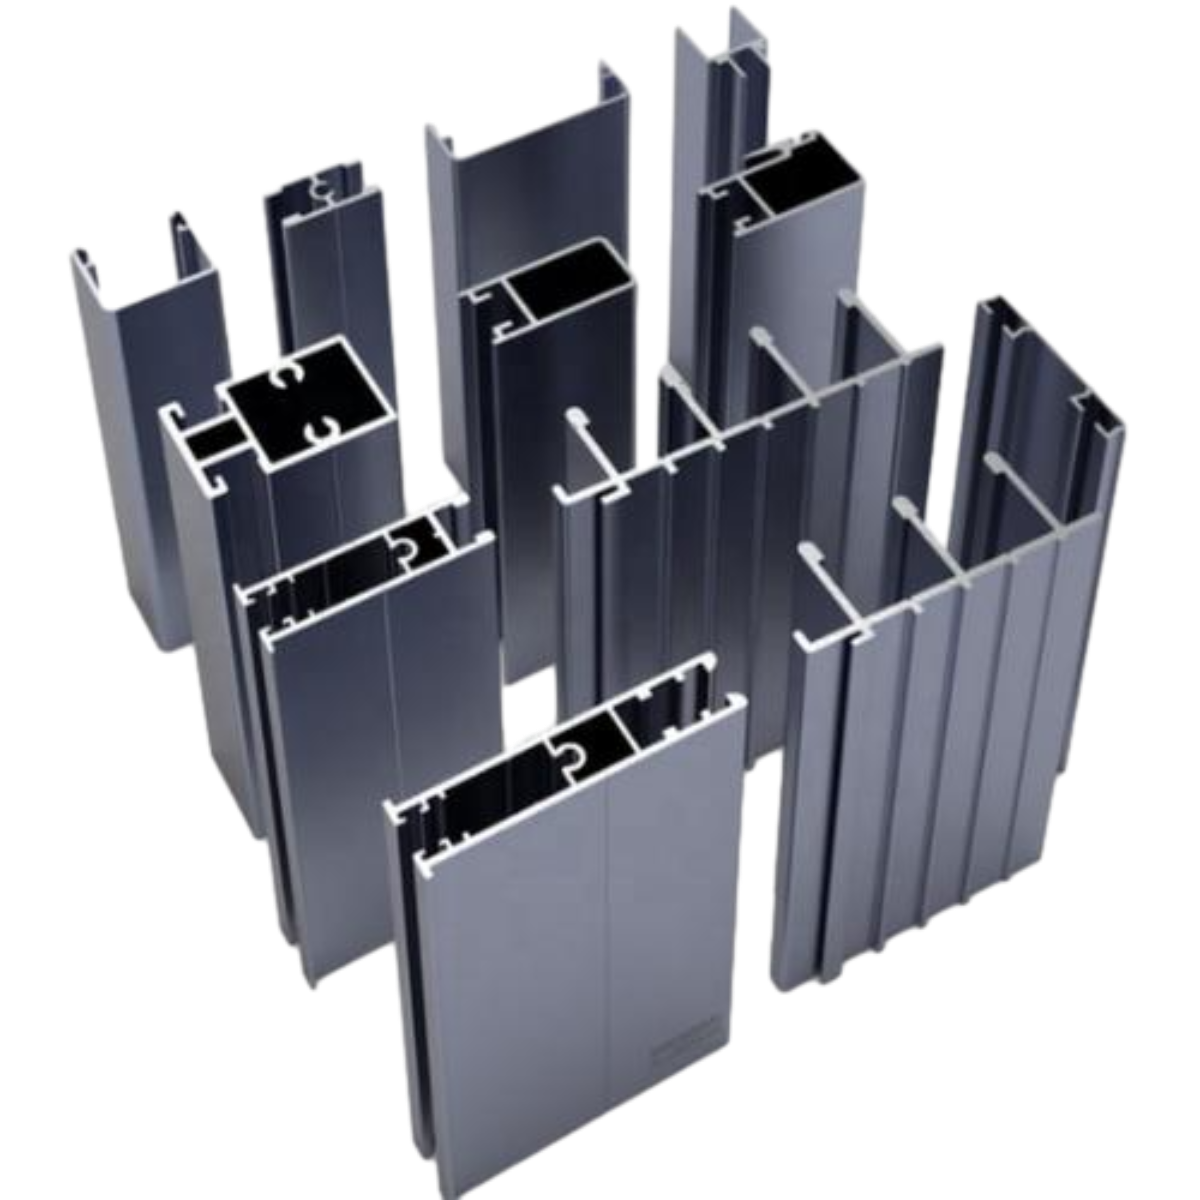
fixing screen door rollers
Fixing Screen Door Rollers A Step-by-Step Guide
Screen doors are an essential feature of many homes, providing ventilation while keeping insects at bay. However, over time, the rollers of these doors may become worn out or damaged, causing the door to operate poorly or even become inoperable. Fixing screen door rollers can seem daunting, but with the right tools and a little patience, it's a straightforward task. This guide will walk you through the steps needed to repair or replace your screen door rollers.
Understanding Screen Door Rollers
Screen door rollers are small wheels or tracks that assist in the smooth opening and closing of the door. Typically located at the bottom of the door, they allow the door to glide effortlessly along its track. When these rollers become misaligned, dirty, or worn out, they can cause the door to stick, slide unevenly, or fall off its track.
Tools and Materials Needed
Before you begin the repair process, make sure you have the following tools and materials handy
1. Screwdriver (flathead and Phillips) 2. Replacement rollers (if needed) 3. Lubricant (silicone spray or WD-40) 4. Cleaning cloth 5. Vacuum cleaner or brush 6. Safety goggles and gloves
Step 1 Remove the Screen Door
The first step in fixing screen door rollers is to remove the door from its frame. To do this, lift the door up and off the track while tilting it slightly. Depending on the design, you may need to remove screws or detach brackets to free the door completely.
Step 2 Inspect the Rollers
Once the door is removed, inspect the rollers closely. Look for signs of wear and tear, such as cracks or flattened wheels. If the rollers are damaged, it's best to replace them. Measure the size of the existing rollers to ensure you purchase the correct replacements.
Step 3 Clean the Rollers and Track
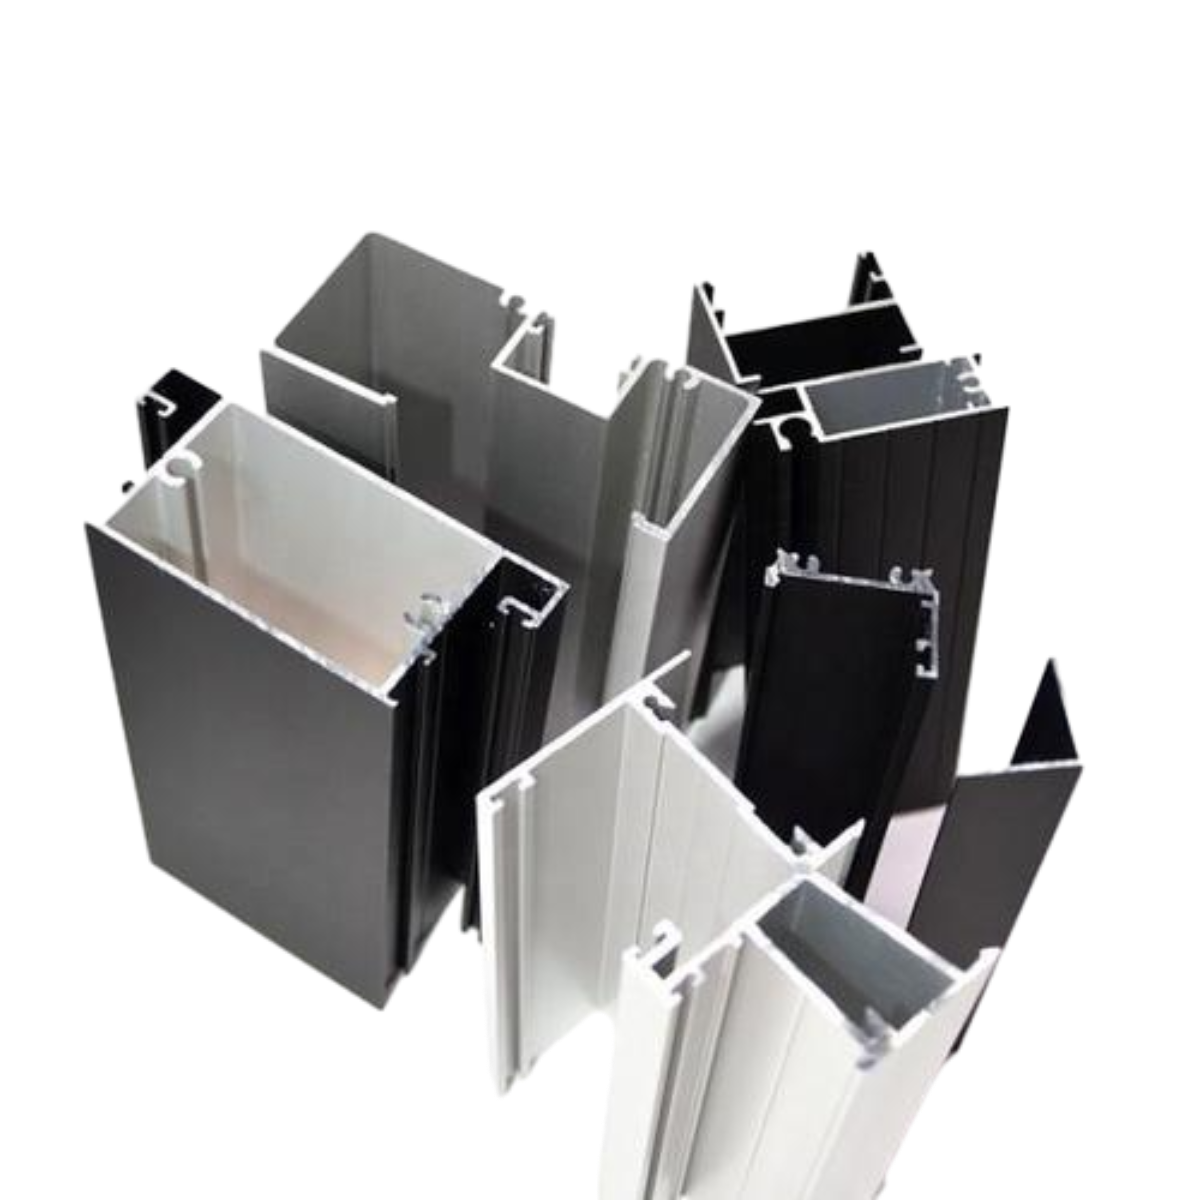
fixing screen door rollers

Before installing new rollers, clean the existing ones (if they are in good condition). Use a cleaning cloth to remove any dirt or debris from the rollers. For optimal performance, also clean the track where the rollers glide. A vacuum cleaner or a brush can help remove any buildup.
Step 4 Replace or Adjust the Rollers
If you've opted to replace the rollers, remove the old ones by unscrewing them from the door frame. Afterward, install the new rollers by attaching them securely in the same position as the old ones. If the rollers are in good condition, ensure they are properly aligned and adjust them if necessary.
Step 5 Lubricate the Rollers
Once the rollers are in place, apply a silicone-based lubricant to them and the track. This will help the door glide smoothly when reinstalled. Avoid using oil-based lubricants as they can attract dirt and grime over time.
Step 6 Reinstall the Screen Door
Carefully lift the screen door back into the frame, ensuring that the rollers are properly positioned within the track. Adjust the height as needed, and secure any screws or brackets that were removed earlier.
Step 7 Test the Door
Finally, test the door by opening and closing it several times. Ensure it moves smoothly along the track without sticking. If everything functions well, you’ve successfully fixed your screen door rollers!
Conclusion
Fixing screen door rollers is an achievable DIY task that can greatly enhance the functionality of your screen door. With a bit of effort, you can restore ease of use and extend the life of your screen door, ensuring a bug-free breeze for years to come.
-
Why Choose Cast Iron for Your Next Project?NewsApr.27,2025
-
Timeless Charm of Cast Iron Decorative ElementsNewsApr.27,2025
-
Wholesale Cast Iron Products: A Growing Trend in Home and Garden DécorNewsApr.27,2025
-
The Advantages of Using Ornamental Cast Iron Parts in Your Design ProjectsNewsApr.27,2025
-
Why Ornamental Iron Castings Are Essential for Timeless DesignNewsApr.27,2025
-
The Elegance and Durability of Ornamental Cast Iron PanelsNewsApr.27,2025


