aluminium sliding door roller replacement
Replacing Aluminium Sliding Door Rollers A Comprehensive Guide
Aluminium sliding doors are a popular choice for many homeowners due to their durability, aesthetic appeal, and space-saving functionality. However, over time, the rollers that allow these doors to glide smoothly can wear out. When this happens, the doors may become difficult to open or close, compromising both convenience and security. Fortunately, replacing the rollers is a manageable task that many homeowners can undertake themselves. This article will guide you through the process of replacing aluminium sliding door rollers, providing tips to ensure a successful repair.
Understanding the Problem
Before beginning the replacement process, it's essential to identify the symptoms of worn-out rollers. Common signs include
- The door making grinding or scraping noises during operation. - Difficulty in sliding the door, often requiring extra force. - The door being misaligned or getting stuck in its track.
If you notice any of these issues, it's likely time for a roller replacement.
Gathering Necessary Tools and Materials
To replace the rollers, you will need
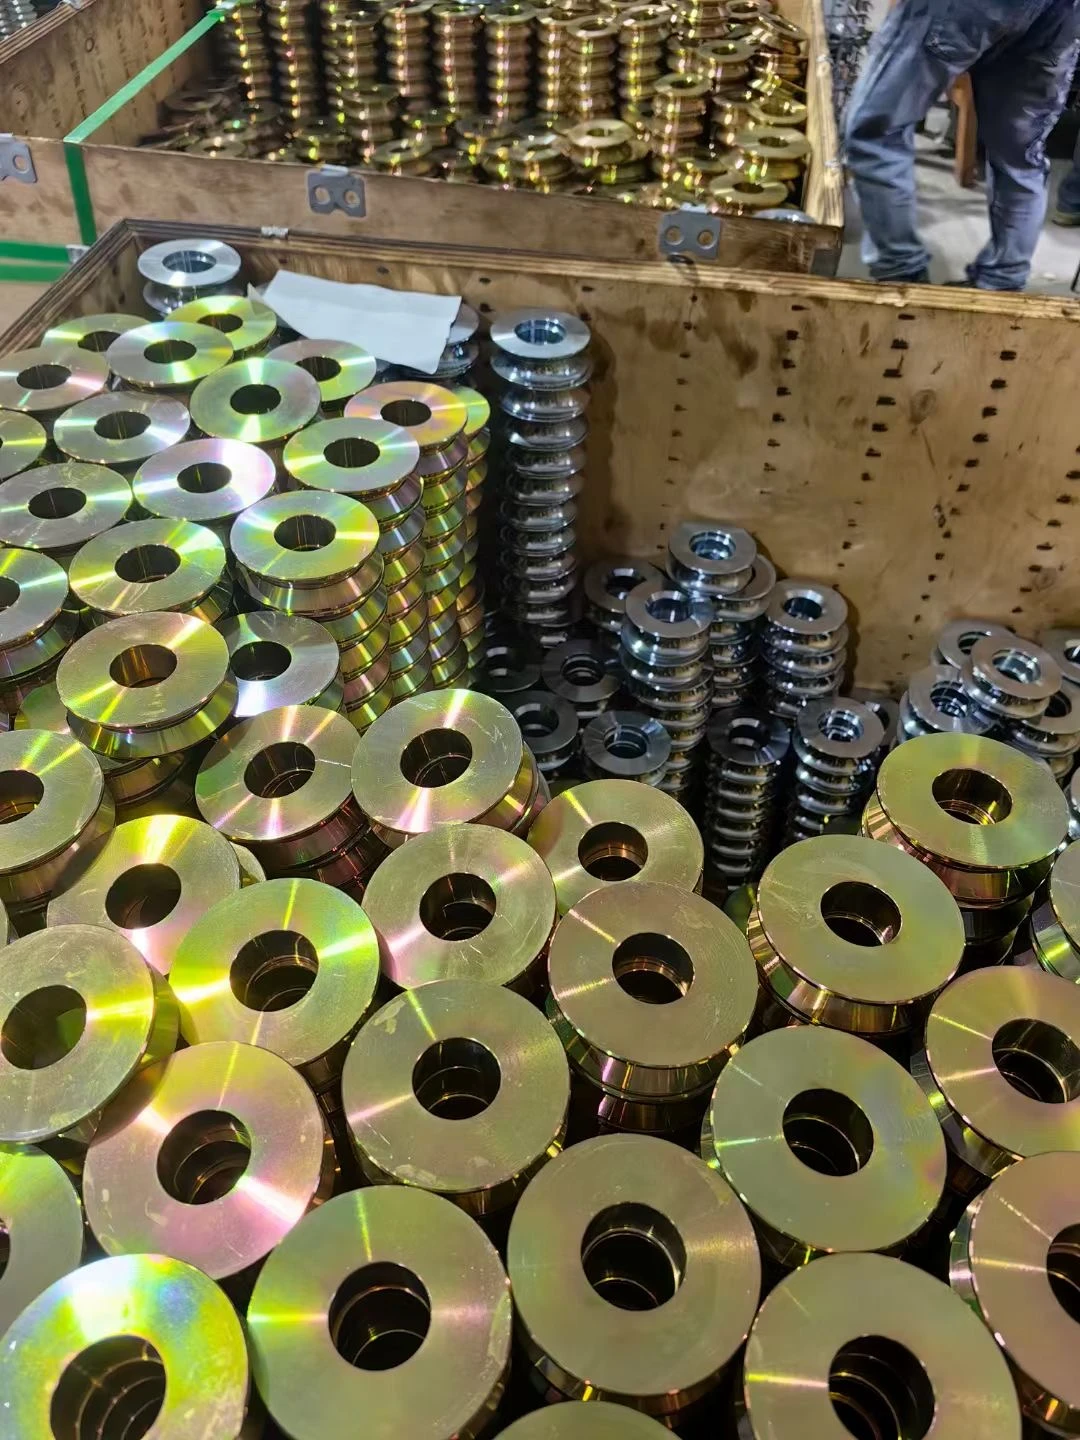
- New sliding door rollers (make sure to select the correct size and type for your door). - A screwdriver (either Phillips or flat-head, depending on your door). - A pry bar or flat tool to help lift the door. - Lubricant (like silicone spray) to maintain smooth operation after replacement. - Safety goggles and gloves for protection.
Step-by-Step Replacement Process
1. Remove the Door Start by opening the sliding door fully. Use the pry bar to lift the door gently from its track. You might need someone to assist you in holding the door while you remove it. Carefully tilt the bottom of the door towards you and lift it out of the track.
aluminium sliding door roller replacement

2. Inspect the Current Rollers Once the door is off, examine the existing rollers. They may be damaged, worn down, or coated in dirt and debris. This inspection will also help you understand how to best install the new rollers.
3. Remove Old Rollers Depending on your door’s design, remove the old rollers by unscrewing them from their positions. Take note of how they are installed so that you can replicate the setup with the new rollers.
4. Install New Rollers Install the new rollers by positioning them in the same manner as the old ones. Ensure they are securely attached with screws and that they fit snugly within their mounts.
5. Clean the Track While you have the door removed, take the opportunity to clean the track thoroughly. Use a cloth to wipe away dust, dirt, and any debris that may interfere with the door’s movement. Lubricate the track with silicone spray for added smoothness.
6. Reattach the Door Carefully lift the door back into its track, angling it appropriately until it fits smoothly in place. Double-check that it aligns correctly with the frame and is not dragging against any surfaces.
7. Test the Door Finally, slide the door back and forth to test its operation. It should glide smoothly without excessive resistance, and you should not hear any grinding noises. If it feels off, double-check the roller installation and alignment.
Maintain Your Sliding Door
To prolong the life of the new rollers, perform regular maintenance. Clean the track periodically and apply lubricant as needed. This not only ensures smooth operation but also helps prevent premature wear and tear.
Conclusion
Replacing aluminium sliding door rollers may seem daunting, but with the right tools and a little patience, you can restore your door’s functionality in no time. Not only will this enhance the convenience of accessing your outdoor spaces, but it will also improve security and increase the overall aesthetic appeal of your home. Take the time to address roller issues promptly, and enjoy the ease of your sliding door for years to come.
-
Window Lock Handle for Security UpgradesNewsJun.20,2025
-
Proper Lubrication Techniques for Sliding Gate WheelsNewsJun.20,2025
-
Ornamental Iron Castings for Interior DesignNewsJun.20,2025
-
Creative Ways to Decorate Around a Cast Iron FireplaceNewsJun.20,2025
-
Cast Iron Pipe and Fitting for Plumbing SystemsNewsJun.20,2025
-
Cast Iron Panel Casting for Architectural ElementsNewsJun.20,2025


