aluminium sliding door roller replacement
How to Replace Aluminum Sliding Door Rollers
Aluminum sliding doors are a popular choice for both homes and businesses due to their durability, aesthetic appeal, and ease of use. However, over time, the rollers that allow these doors to glide smoothly can wear out, leading to frustrating operational difficulties. Replacing aluminum sliding door rollers is a task that many homeowners can manage with a bit of guidance and the right tools. Here’s a step-by-step guide to help you through the process.
Tools and Materials Needed
Before you begin, gather the necessary tools and materials. You will need - A screwdriver (Phillips or flathead, depending on your door's hardware) - A pair of pliers - A putty knife or a flat pry bar - Replacement rollers (make sure to purchase the correct size) - Lubricant - A vacuum or a broom
Step 1 Remove the Door
To access the rollers, you’ll first need to remove the sliding door from its track. Begin by lifting the door slightly to disengage it from the top track. If your door has a bottom track, tilt the bottom of the door inward toward you while lifting the top. It may help to have a second person assist you during this step, as sliding doors can be heavy.
Once the door is detached, set it down on a soft surface, like a carpet or blanket, to avoid scratches.
Step 2 Remove the Old Rollers
With the door removed, examine the bottom of the door where the rollers are located. Depending on your door's design, you may need to unscrew a cover plate to access the rollers. Use your screwdriver to remove any screws and lift off the cover.
Once the rollers are exposed, pull them out of their housing. If they appear stuck, gently pry them loose with a putty knife or flat pry bar. Take note of how the rollers are aligned, as this will be helpful when you install the new ones.
Step 3 Install the New Rollers
aluminium sliding door roller replacement
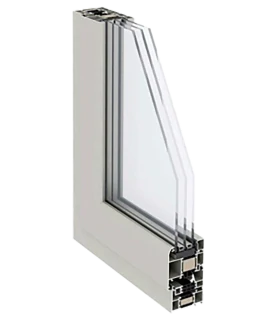
Take your new rollers and insert them into the housing, ensuring they are correctly aligned—this typically involves matching the orientation of the old rollers. Push them firmly into place until they click or snap into position.
If your new rollers have adjustable heights, it may be beneficial to set them at their lowest position initially to make reinstallation easier.
Step 4 Clean the Tracks
Before reattaching the door, use your vacuum or broom to clean any debris from the door tracks. This will ensure smooth operation once the door is reinstalled. If the tracks are damaged or bent, consider replacing them as well.
Step 5 Reinstall the Door
Now it’s time to put the door back on the track. Position the top of the door in the top track first, then tilt the bottom of the door onto the bottom track. Adjust the rollers on the bottom if necessary, raising or lowering them to achieve a proper fit.
Step 6 Test the Door
Once the door is securely in place, give it a test slide. It should glide smoothly across the tracks without any resistance. If you notice any sticking points, check the rollers and the tracks for any obstructions or misalignments. Lubricate the rollers with a suitable lubricant to enhance performance.
Conclusion
Replacing aluminum sliding door rollers may seem daunting, but with the right tools and a little patience, it’s a manageable home improvement task. Regular maintenance of your sliding door will prolong its lifespan and ensure it continues to operate smoothly. Happy sliding!
-
Plough Wheel Cast Iron Material Enhances Load-BearingNewsNov.10,2025
-
Cast Iron Cooking Stove Heat Retention Ensures Even Food HeatingNewsNov.10,2025
-
Rubber Strip Shock Absorption Protects Window EdgesNewsNov.10,2025
-
Aluminum Profiles High Corrosion Resistance Suits Coastal AreasNewsNov.10,2025
-
Window Handle Aluminum Material Ensures Lightweight DurabilityNewsNov.10,2025
-
Sliding Roller Plastic Housing Fits Aluminum Sliding WindowsNewsNov.10,2025
-
 Plough Wheel Cast Iron Material Enhances Load-BearingNov-10-2025Plough Wheel Cast Iron Material Enhances Load-Bearing
 -
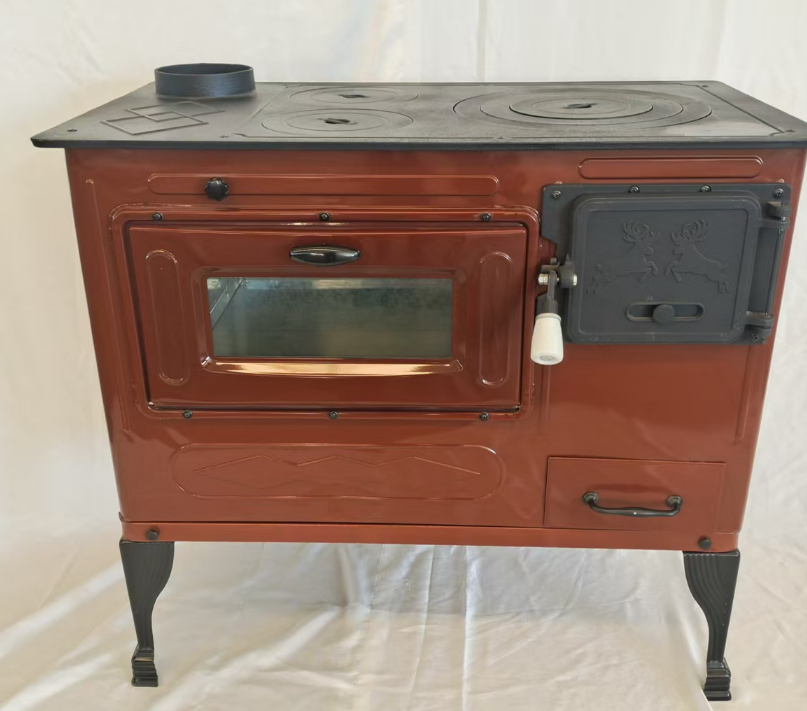 Cast Iron Cooking Stove Heat Retention Ensures Even Food HeatingNov-10-2025Cast Iron Cooking Stove Heat Retention Ensures Even Food Heating
 -
 Rubber Strip Shock Absorption Protects Window EdgesNov-10-2025Rubber Strip Shock Absorption Protects Window Edges


