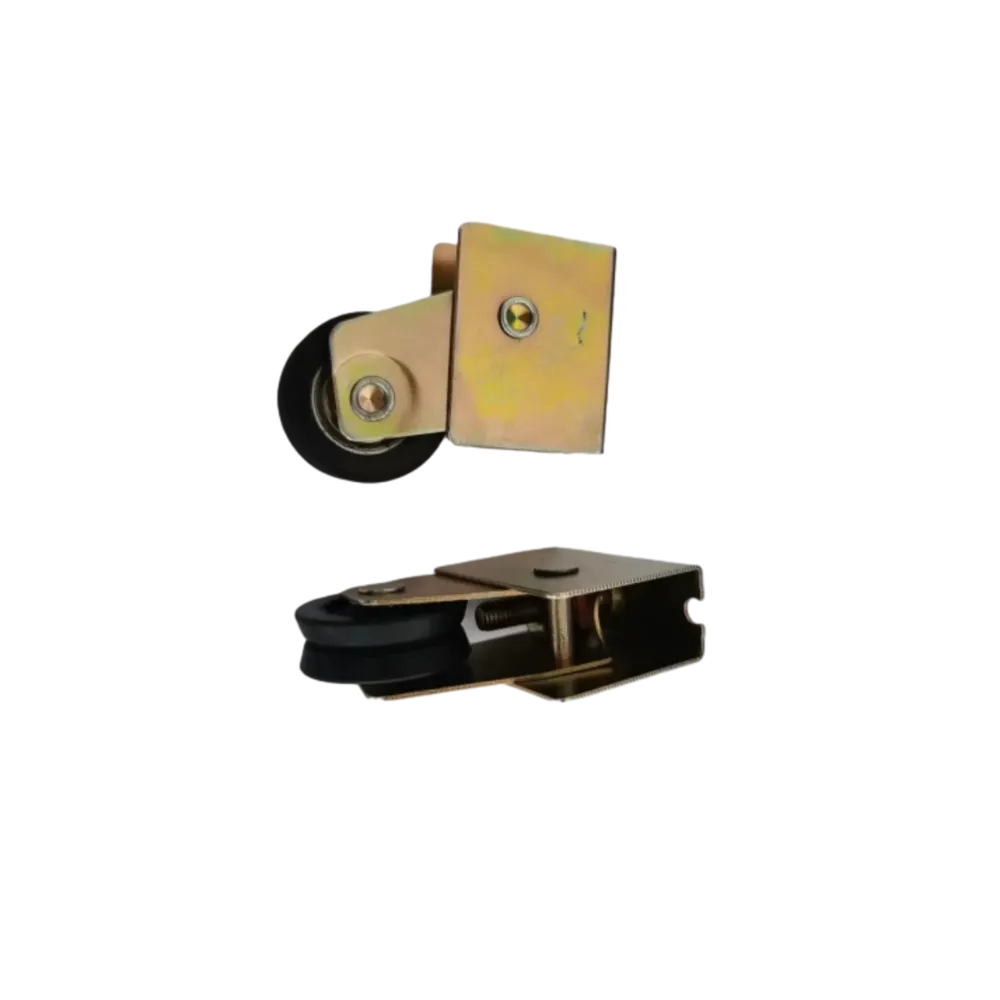
Aluminum Window Roller Replacement Guide for Smooth Window Operation
A Comprehensive Guide to Aluminum Window Roller Replacement
Replacing the rollers on aluminum windows may seem daunting, but it can significantly improve the functionality and longevity of your windows. Over time, the rollers can wear out due to constant usage, environmental factors, or simply age. Here’s a step-by-step guide to help you navigate the replacement process smoothly.
Why Replace Aluminum Window Rollers?
The primary purpose of window rollers is to facilitate the smooth opening and closing of aluminum windows. When these rollers wear out, you may encounter issues such as difficulty in sliding the window, loud noises during operation, or even the window becoming stuck. Replacing the rollers can prevent further damage and ensure that your windows operate efficiently.
Tools and Materials Needed
Before you begin the replacement, gather the necessary materials and tools - Replacement rollers specific to your window model - Screwdriver (Phillips or flat-headed, as required) - Pliers - Lubricant (optional) - Cleaning cloth
Step-by-Step Replacement Process
1. Identify the Problem Before taking any action, check if the rollers are indeed the source of the issue. Inspect them for cracks, chips, or visible wear.
2. Remove the Window Sash Carefully remove the window sash by lifting it out of its frame. Some windows may require you to unscrew the sash, while others may simply slide out. If the latter is the case, tilt the bottom of the sash inward and lift it out.
aluminum window roller replacement

3. Access the Rollers Once the sash is removed, locate the rollers. They are usually positioned on the bottom of the window sash. If they are hidden behind a cover, you may need to unscrew or pry off the cover gently.
4. Remove Old Rollers Using your screwdriver, unscrew the old rollers from their positions. Keep track of the screws to avoid losing them.
5. Install New Rollers Take your replacement rollers and attach them to the window sash in the same position as the old ones. Ensure they are secured tightly with screws.
6. Lubricate (Optional) For improved functionality, consider applying a small amount of lubricant to the rollers. This helps ensure smooth movement and reduces friction.
7. Reassemble the Window Carefully slide the sash back into the window frame, making sure it aligns properly. Test the movement of the window to ensure everything is functioning as expected.
8. Final Checks Inspect the window for proper alignment and seal any gaps to prevent drafts or leaks.
Conclusion
Aluminum window roller replacement is a straightforward process that can enhance the performance of your windows significantly. By following this guide, you can tackle the project with confidence, saving money on professional repairs while extending the lifespan of your windows. Regular maintenance checks can prevent wear and ensure your windows remain in optimal condition for years to come.
-
Wrought Iron Components: Timeless Elegance and Structural StrengthNewsJul.28,2025
-
Window Hardware Essentials: Rollers, Handles, and Locking SolutionsNewsJul.28,2025
-
Small Agricultural Processing Machines: Corn Threshers, Cassava Chippers, Grain Peelers & Chaff CuttersNewsJul.28,2025
-
Sliding Rollers: Smooth, Silent, and Built to LastNewsJul.28,2025
-
Cast Iron Stoves: Timeless Heating with Modern EfficiencyNewsJul.28,2025
-
Cast Iron Pipe and Fitting: Durable, Fire-Resistant Solutions for Plumbing and DrainageNewsJul.28,2025
-
 Wrought Iron Components: Timeless Elegance and Structural StrengthJul-28-2025Wrought Iron Components: Timeless Elegance and Structural Strength
 -
 Window Hardware Essentials: Rollers, Handles, and Locking SolutionsJul-28-2025Window Hardware Essentials: Rollers, Handles, and Locking Solutions
 -
 Small Agricultural Processing Machines: Corn Threshers, Cassava Chippers, Grain Peelers & Chaff CuttersJul-28-2025Small Agricultural Processing Machines: Corn Threshers, Cassava Chippers, Grain Peelers & Chaff Cutters


