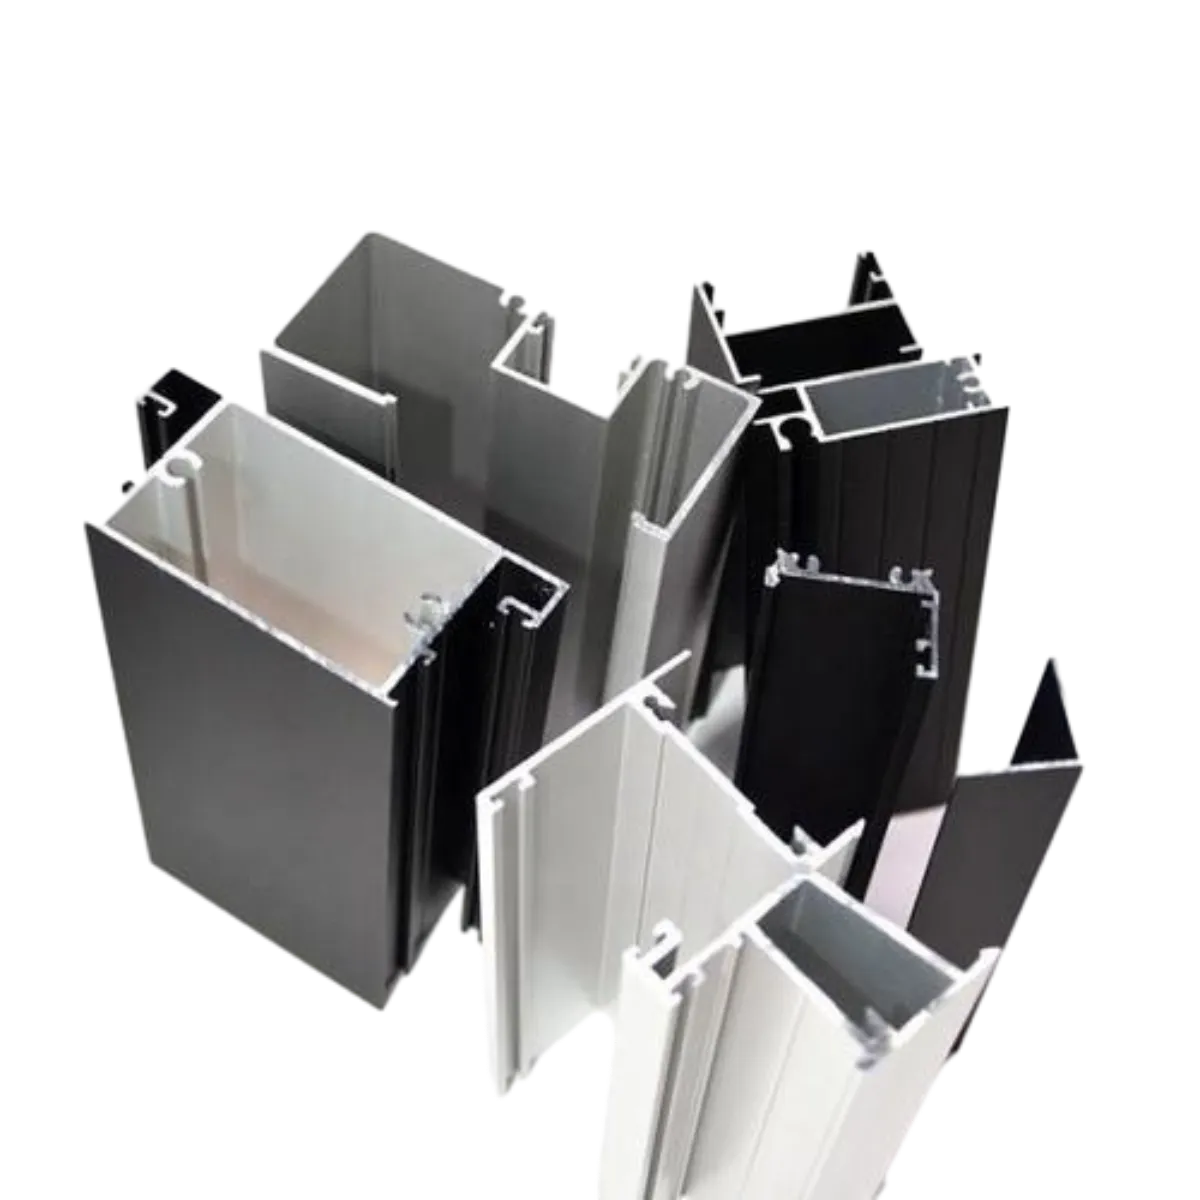
sliding screen door roller assembly replacement
Replacing the Sliding Screen Door Roller Assembly A Step-by-Step Guide
Sliding screen doors are a convenient addition to any home, allowing fresh air to flow through while keeping unwanted pests at bay. However, like any mechanical component, the roller assembly of a sliding screen door can wear out over time due to constant use. If you notice that your screen door is difficult to slide, it may be time to replace the roller assembly. Fortunately, this is a repair you can easily tackle on your own with a little patience and the right tools.
Tools and Materials Needed
Before you get started, gather the following tools and materials - Screwdriver (Phillips and flat-head) - Replacement roller assembly (ensure it matches your door model) - Utility knife - Measuring tape - Lubricant (optional) - Clean cloth
Step 1 Remove the Screen Door
Start by carefully removing the screen door from its track. Most screen doors can be lifted straight up and then pulled out. However, some models may require you to use a screwdriver to remove any screws that hold it in place. Be sure to keep all screws and components in a safe location for reassembly.
Step 2 Inspect the Roller Assembly
Once you have the screen door off, examine the roller assembly closely. Look for signs of wear or damage. If you see any cracks, rust, or excessive wear, it’s time for a replacement. Take note of how the roller assembly is attached to the door, as this will guide you in the installation of the new one.
Step 3 Remove the Old Roller Assembly
Using a screwdriver, remove the screws that hold the roller assembly in place. If the assembly is secured with clips or other fasteners, carefully remove them as well. Once the screws and fasteners are out, the old roller assembly should slide out easily.
Step 4 Measure for the Replacement Parts
sliding screen door roller assembly replacement

Before purchasing a replacement roller assembly, it’s essential to measure the old one. Measure the diameter of the roller wheels, the width of the housing, and the overall length. It’s critical to choose a replacement that fits your door properly to ensure smooth operation. If your old roller is significantly damaged, bringing it to a hardware store can also help store staff recommend the right replacement.
Step 5 Install the New Roller Assembly
With the old roller assembly removed and your replacement ready, it’s time to install the new unit. First, slide the new roller assembly into the opening where the old one was removed. Make sure it fits snugly. Use screws to secure it in place, making sure not to overtighten, as this can cause the rollers to stick.
Step 6 Adjust the Roller Height
After installing the new roller assembly, you may need to adjust the height to ensure the sliding door operates smoothly. Most roller assemblies have an adjustment screw or knob. Use a screwdriver to raise or lower the door until it glides effortlessly along the track.
Step 7 Reinstall the Screen Door
Carefully slide the screen door back into the track. Make sure it is positioned correctly, both at the top and bottom. Test the door by sliding it back and forth to ensure it operates smoothly. If there’s any resistance, double-check the roller adjustment.
Step 8 Final Touches
Once you’ve confirmed that the screen door operates smoothly, apply a lubricant to the rollers if desired. This will prolong the life of the assembly and ensure smooth operation.
Conclusion
Replacing a sliding screen door roller assembly is a straightforward task that can save you money and restore functionality to your door. With a few basic tools and the right replacement parts, you can enhance your home’s comfort and maintain its appeal. Regular maintenance and timely repairs will ensure that your sliding screen door continues to serve its purpose effectively for years to come.
-
Wrought Iron Components: Timeless Elegance and Structural StrengthNewsJul.28,2025
-
Window Hardware Essentials: Rollers, Handles, and Locking SolutionsNewsJul.28,2025
-
Small Agricultural Processing Machines: Corn Threshers, Cassava Chippers, Grain Peelers & Chaff CuttersNewsJul.28,2025
-
Sliding Rollers: Smooth, Silent, and Built to LastNewsJul.28,2025
-
Cast Iron Stoves: Timeless Heating with Modern EfficiencyNewsJul.28,2025
-
Cast Iron Pipe and Fitting: Durable, Fire-Resistant Solutions for Plumbing and DrainageNewsJul.28,2025
-
 Wrought Iron Components: Timeless Elegance and Structural StrengthJul-28-2025Wrought Iron Components: Timeless Elegance and Structural Strength
 -
 Window Hardware Essentials: Rollers, Handles, and Locking SolutionsJul-28-2025Window Hardware Essentials: Rollers, Handles, and Locking Solutions
 -
 Small Agricultural Processing Machines: Corn Threshers, Cassava Chippers, Grain Peelers & Chaff CuttersJul-28-2025Small Agricultural Processing Machines: Corn Threshers, Cassava Chippers, Grain Peelers & Chaff Cutters


