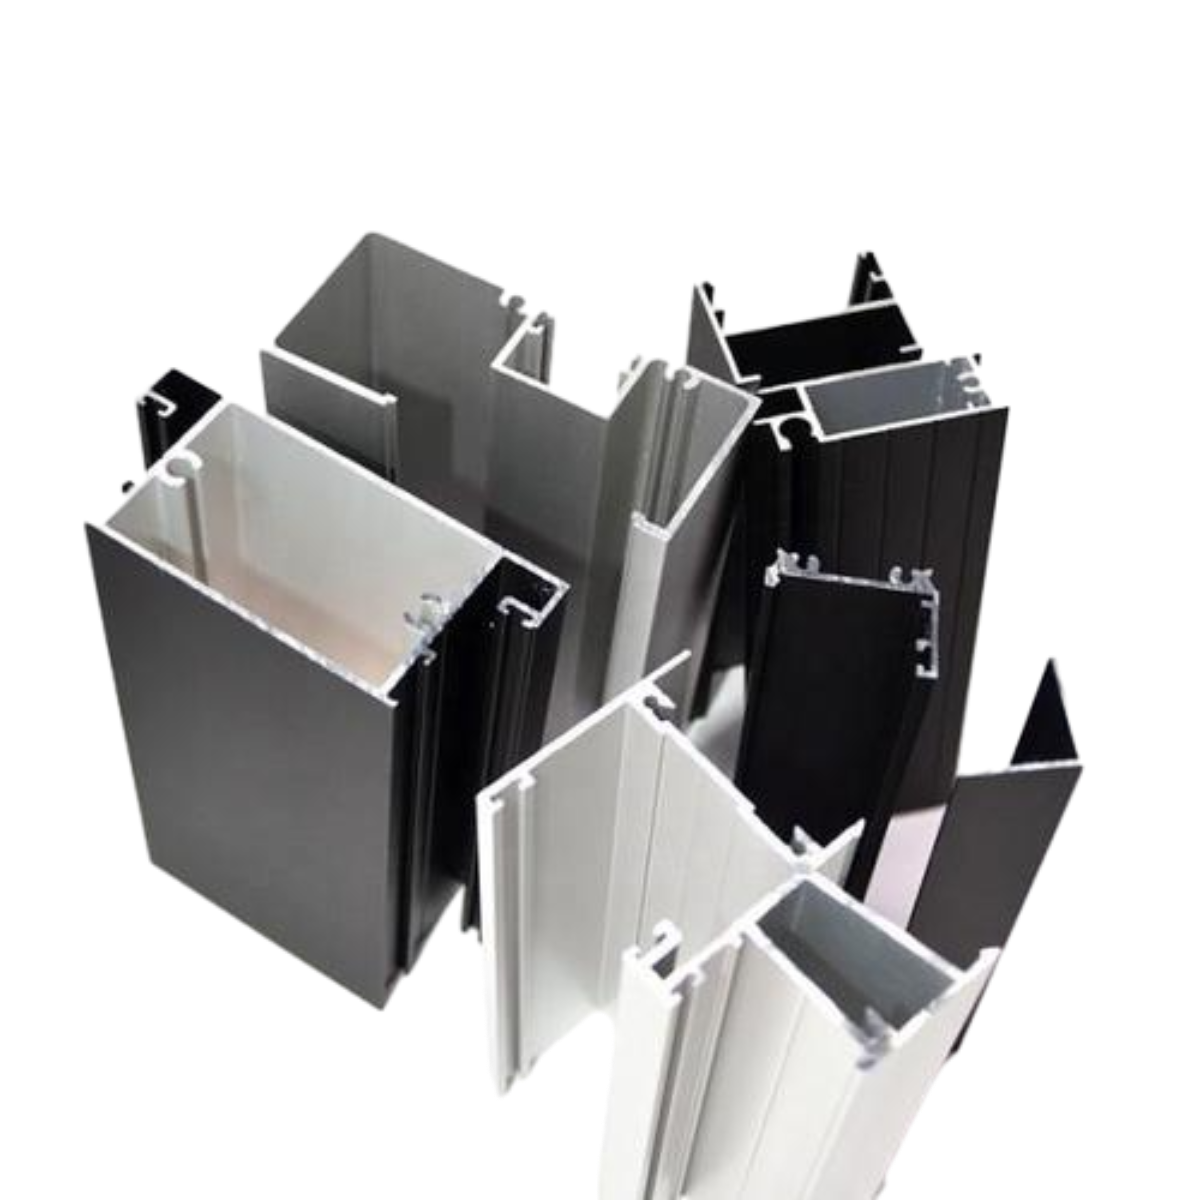
sliding window wheels replacement
Sliding Window Wheels Replacement A Comprehensive Guide
In the realm of home improvement, sliding windows are a popular choice due to their sleek design, ease of operation, and the excellent ventilation they provide. However, like any other mechanical system, sliding windows can experience wear and tear over time, particularly the wheels that allow the window to glide smoothly along its track. Replacing these wheels may seem daunting, but with the right tools and guidance, it can be a straightforward DIY task.
Understanding the Components
Before diving into the replacement process, it is essential to understand the components involved. Sliding windows typically consist of a frame, a sash, and a track. The wheels, often made of nylon or metal, are installed at the bottom of the window sash, enabling it to slide effortlessly open and closed. If your sliding window is difficult to open or feels heavy, it's a clear indication that the wheels may need replacement.
Tools and Materials Needed
To replace the sliding window wheels, you will need the following tools and materials - A flathead screwdriver - A Phillips screwdriver - Replacement wheels (ensure they are compatible with your window model) - Lubricant (optional) - Safety glasses
Step-by-Step Replacement Process
1. Remove the Window Sash Begin by fully opening the sliding window. Locate the screws that hold the window sash in place. Using the appropriate screwdriver, remove these screws. Carefully lift the sash upwards to detach it from the track. It may require a bit of maneuvering, so be gentle to avoid damaging the frame.
sliding window wheels replacement

2. Inspect the Wheels Once the sash is removed, inspect the old wheels. Take note of their size and type, as this will help you select the right replacement wheels. If they are cracked, worn down, or frozen, they clearly need replacing.
3. Remove Old Wheels The old wheels are typically held in place by screws or clips. Use the screwdriver to carefully remove them from their housing. If they are stuck, gently pry them out without damaging the assembly.
4. Install New Wheels Take the new wheels and align them in the same position as the old ones. Secure them in place with screws or clips, ensuring they are firmly attached to the sash.
5. Clean and Lubricate Before reinstalling the sash, take this opportunity to clean the track. Remove any debris or old lubricant that may be hindering smooth operation. Applying a small amount of lubricant to the track can further enhance the sliding motion of the window.
6. Reinstall the Sash Carefully lower the sash back into the track, ensuring the new wheels fit securely into their respective grooves. Reattach the screws to hold the sash in place.
7. Test the Window After the installation, test the sliding window to ensure it opens and closes smoothly. If it feels heavy or catches, you may need to make slight adjustments to the wheel alignment.
Conclusion
Replacing the wheels on sliding windows is a practical solution to enhance your home's functionality and aesthetic appeal. Not only does it provide easier access to fresh air, but it also helps maintain the overall integrity of the window system. With a few tools and a little bit of time, you can say goodbye to the frustration of a stuck window and enjoy the benefits of a smoothly operating sliding window once again. Whether you are a seasoned DIYer or a first-timer, this simple project is well within your reach.
-
Wrought Iron Components: Timeless Elegance and Structural StrengthNewsJul.28,2025
-
Window Hardware Essentials: Rollers, Handles, and Locking SolutionsNewsJul.28,2025
-
Small Agricultural Processing Machines: Corn Threshers, Cassava Chippers, Grain Peelers & Chaff CuttersNewsJul.28,2025
-
Sliding Rollers: Smooth, Silent, and Built to LastNewsJul.28,2025
-
Cast Iron Stoves: Timeless Heating with Modern EfficiencyNewsJul.28,2025
-
Cast Iron Pipe and Fitting: Durable, Fire-Resistant Solutions for Plumbing and DrainageNewsJul.28,2025
-
 Wrought Iron Components: Timeless Elegance and Structural StrengthJul-28-2025Wrought Iron Components: Timeless Elegance and Structural Strength
 -
 Window Hardware Essentials: Rollers, Handles, and Locking SolutionsJul-28-2025Window Hardware Essentials: Rollers, Handles, and Locking Solutions
 -
 Small Agricultural Processing Machines: Corn Threshers, Cassava Chippers, Grain Peelers & Chaff CuttersJul-28-2025Small Agricultural Processing Machines: Corn Threshers, Cassava Chippers, Grain Peelers & Chaff Cutters


