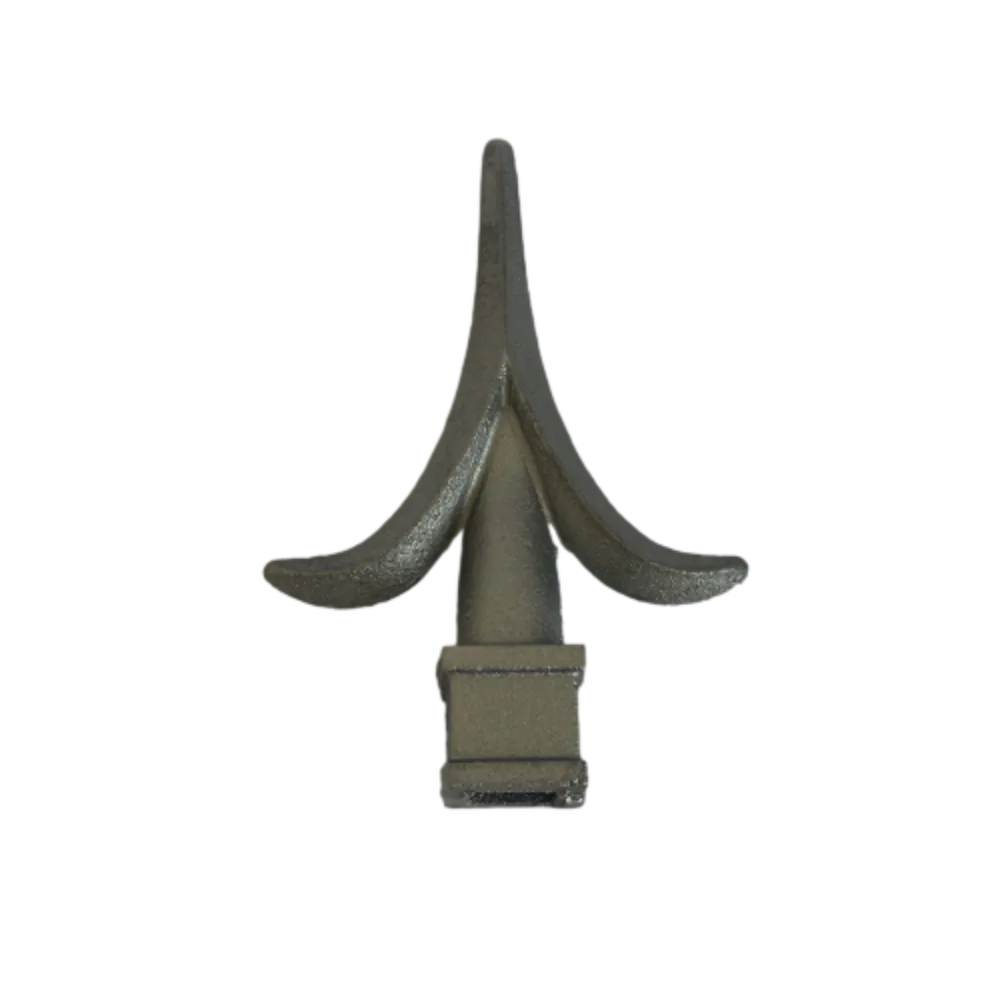
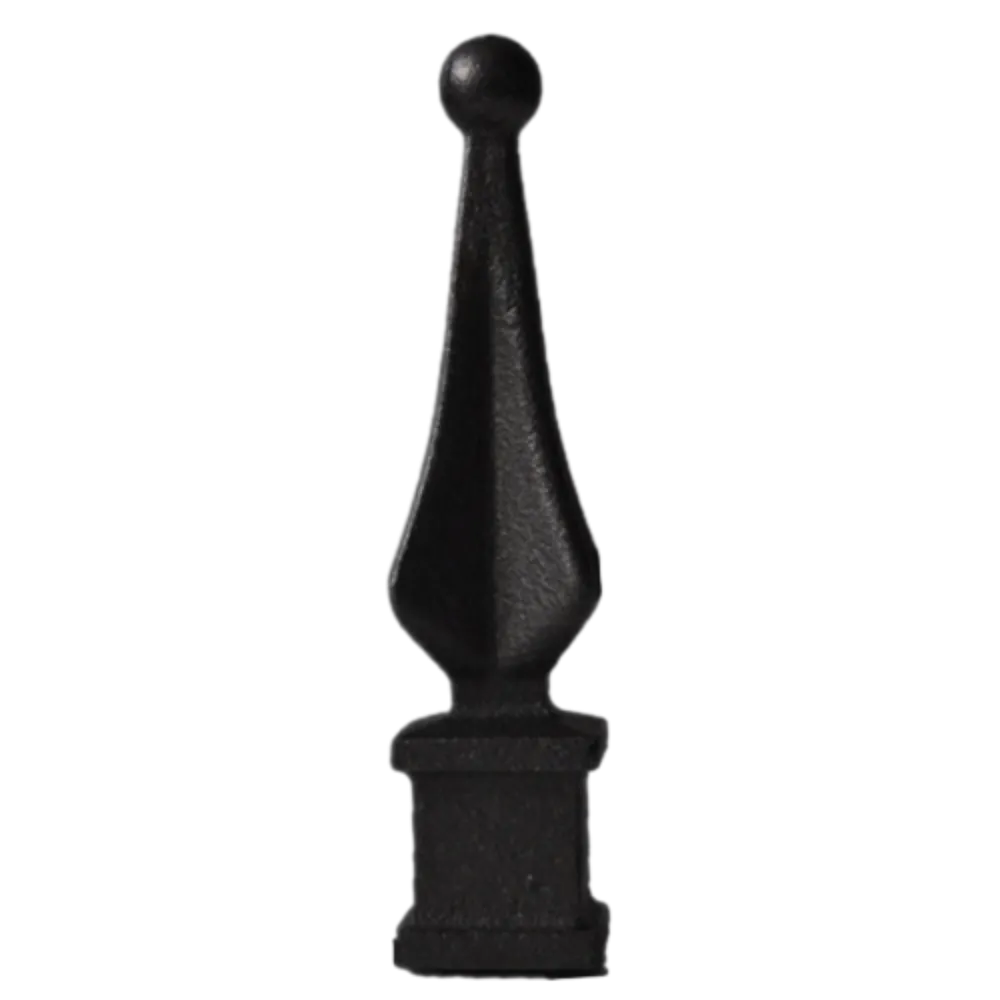
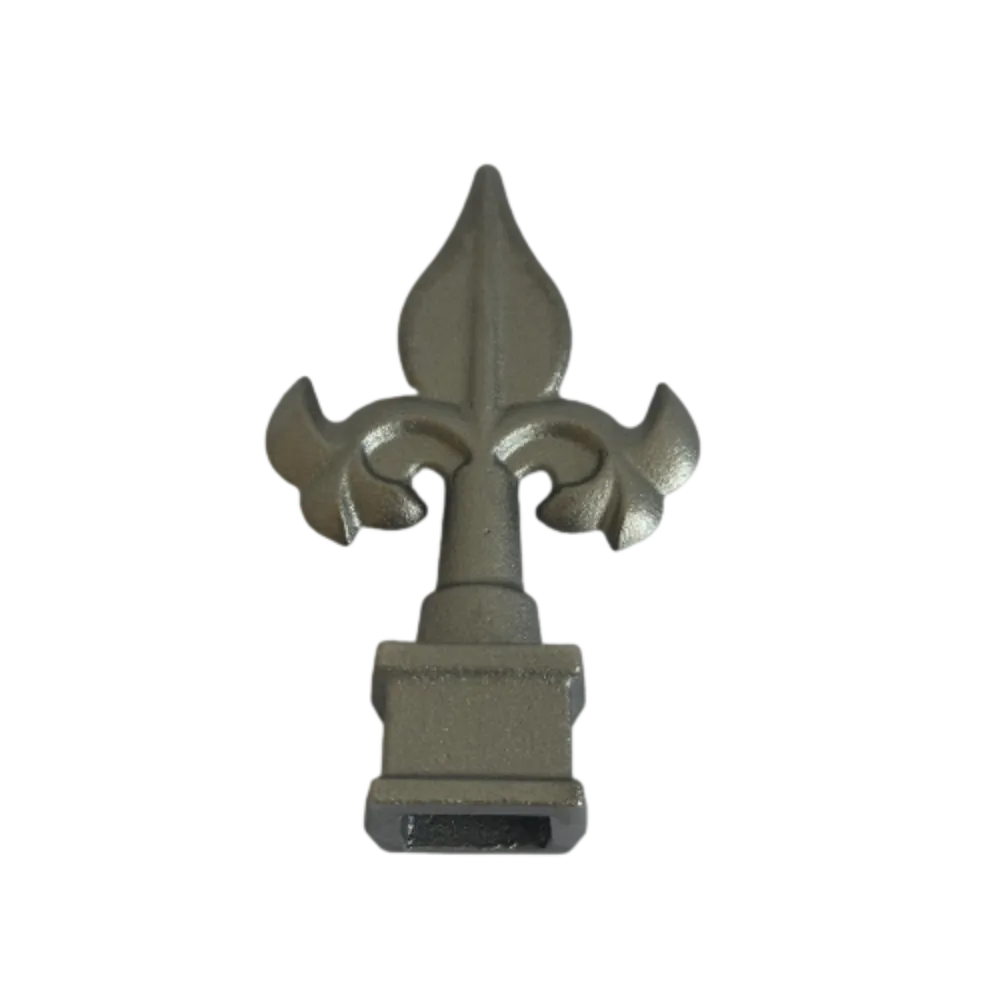
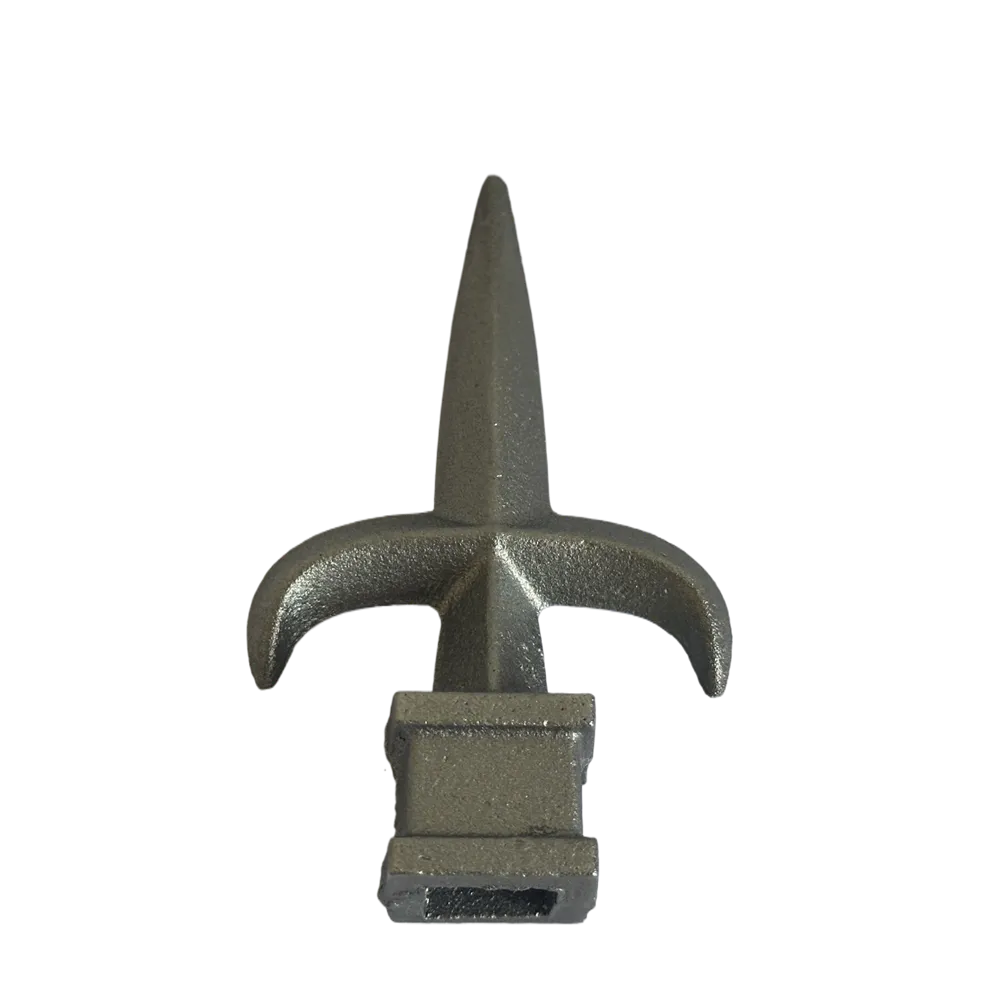
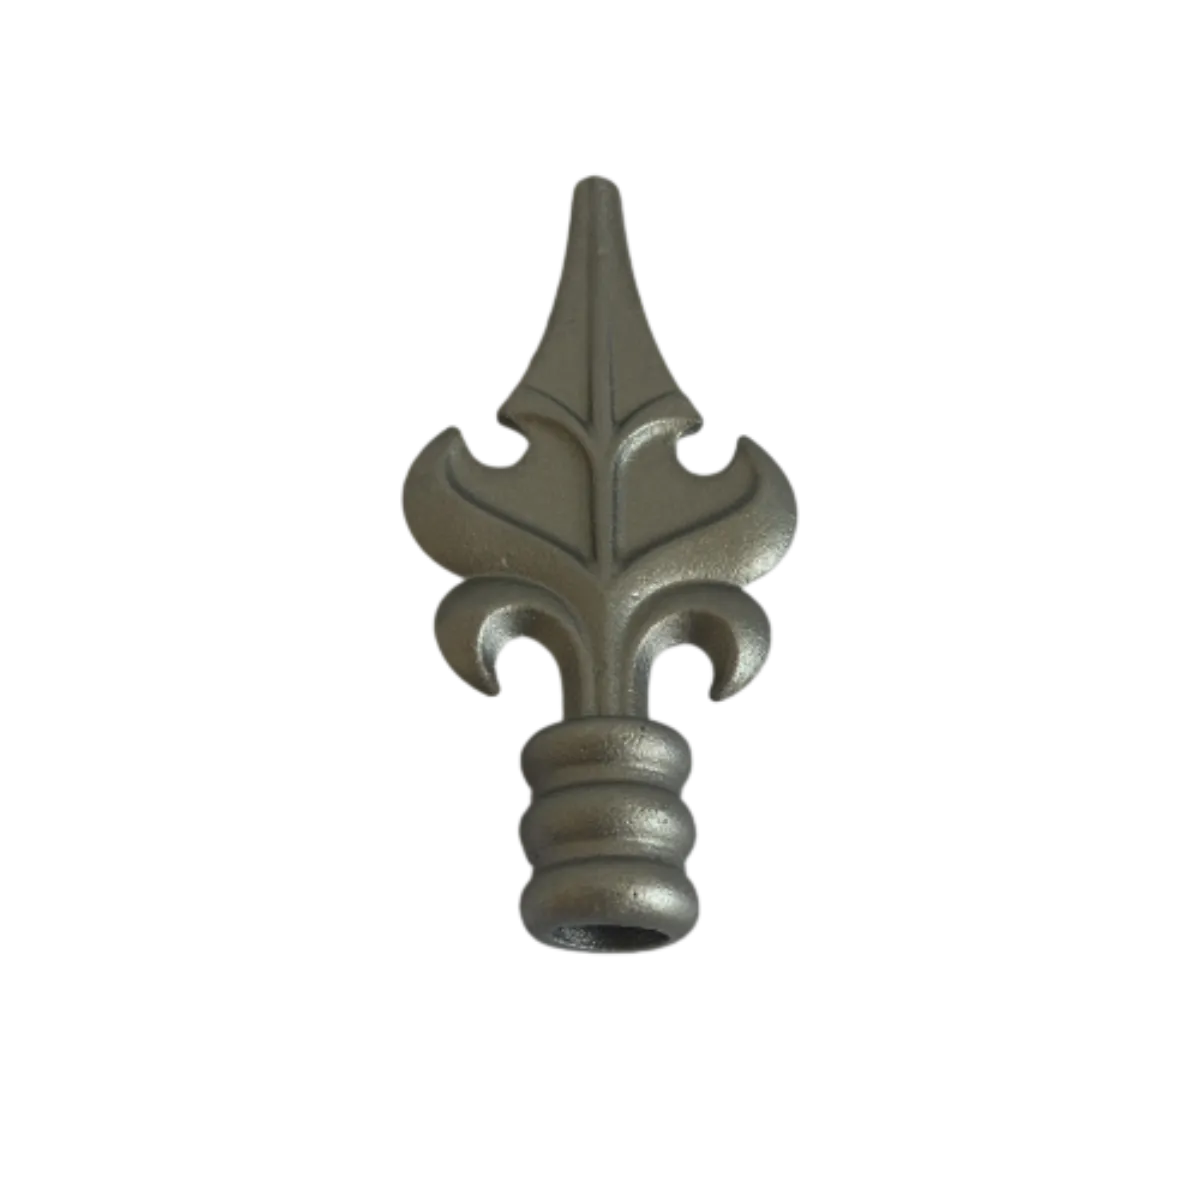
how to make a spear head
How to Make a Spearhead A Step-by-Step Guide
Creating a spearhead is a practical skill that has been utilized for millennia and is essential for crafting hunting tools or simply for enjoying the art of primitive weapon making. Whether you’re interested in historical reenactment, camping, or just honing your skills in craftsmanship, making a spearhead is a rewarding project. This article will guide you through the process of making a spearhead, covering materials, tools, and techniques.
Materials Needed
1. Metal You can use mild steel, tool steel, or even an old file for a harder edge. If you’re new to metalworking, a mild steel rod is a good start. 2. Wood A sturdy wooden shaft (around 5-7 feet long) is best, ideally from a straight-grained wood like ash or hickory. 3. Cord or String For binding the spearhead to the shaft. 4. Optional Leather for a grip or decorative elements.
Tools Required
1. Forge or Propane Torch To heat the metal for shaping. 2. Anvil A solid surface for hammering the metal. 3. Hammers A cross-peen hammer is ideal for shaping. 4. Tongs To hold the hot metal safely. 5. Grinder or Files For sharpening the spearhead. 6. Drill To create holes for binding. 7. Safety Gear Goggles, gloves, and a face shield.
Step-by-Step Instructions
Step 1 Design Your Spearhead
Before beginning the actual crafting process, you should design your spearhead. Traditional spearheads can vary significantly in shape, from broad bladed tips to narrow, piercing points. Sketch the design you envision to create a clear blueprint to follow during the forging process.
Step 2 Prepare the Metal
If you’re using a steel rod, cut a length that suits your design—typically, 6 to 12 inches is sufficient. Clean the metal to remove any rust or contaminants, ensuring a strong bond with the heat.
Step 3 Heat the Metal
Using a forge or a propane torch, heat the metal until it’s glowing red (around 1,500°F or 800°C). This makes the metal malleable and easier to shape. Be sure to use protective gear to shield yourself from heat and sparks.
how to make a spear head
Step 4 Shape the Spearhead
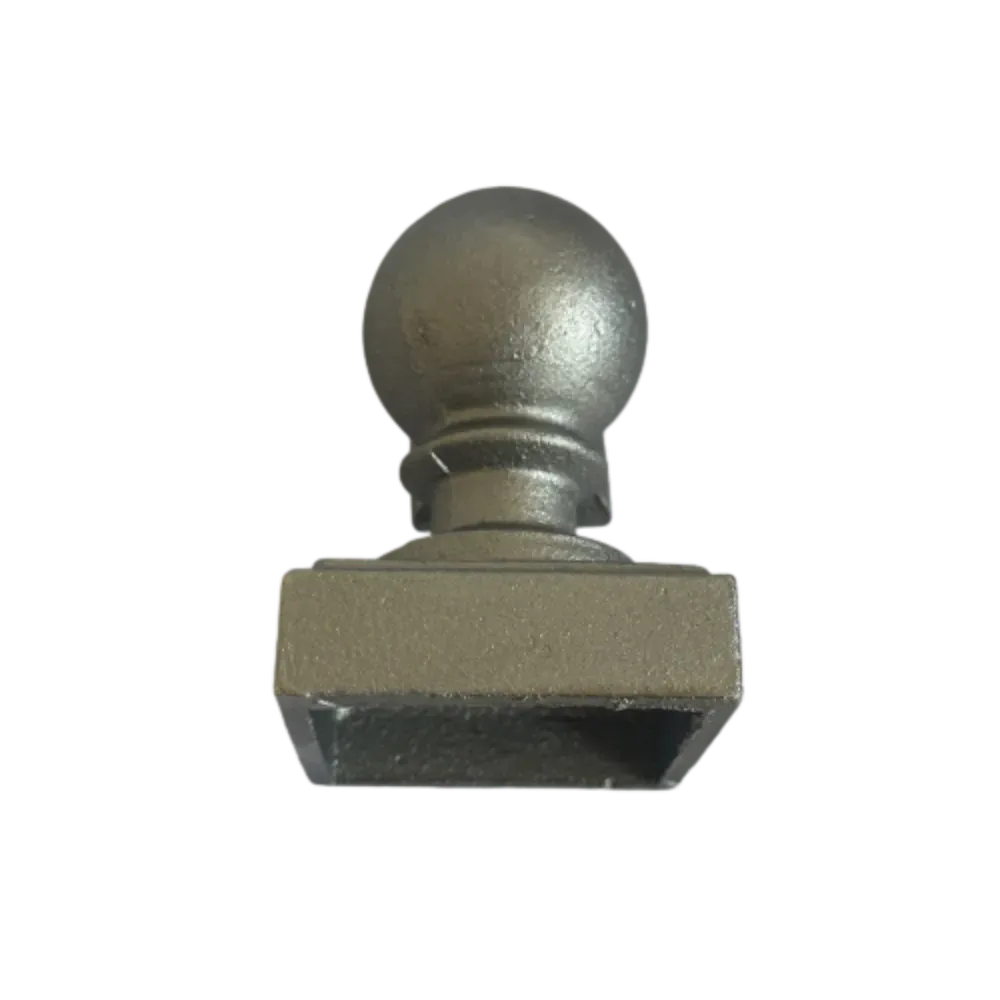
Once your metal reaches the desired temperature, use the hammer to flatten one end to begin forming the point. Gradually shape the metal into your desired spearhead profile, keeping an eye on symmetry. Work it against the anvil to create edges and a pointed tip.
Step 5 Quenching and Tempering
To harden the spearhead, quench it in oil or water immediately after forging. This process alters the metal structure, making it tougher. However, be cautious, as quenching can make steel brittle. Once quenched, you can temper the spearhead by reheating it to a lower temperature (around 400°F or 200°C) for about an hour, then allowing it to cool slowly. This process will reduce brittleness while maintaining hardness.
Step 6 Finishing Touches
Use a grinder or files to sharpen the edges of the spearhead. A razor-sharp edge is important for hunting or defense. Decide if you want to add decorative elements or engravings to personalize your spearhead. Drill holes at the base for securing the spearhead to the wooden shaft.
Step 7 Attaching the Spearhead
Select a straight wooden shaft without knots for the best stability. Carve out a notch at the end of the shaft where the spearhead will be inserted. Push the spearhead into the notch, ensuring a tight fit, and then bind it securely using cord or string. You might also choose to secure it using epoxy or resin for extra durability.
Step 8 Finishing the Wooden Shaft
Sand down the wooden shaft to smooth any rough edges or splinters. If desired, wrap the shaft with leather for grip, and you can create decorative features to enhance its appearance.
Conclusion
Crafting your spearhead can be a gratifying experience that connects you with ancient traditions. Whether you’re looking to use your spear for practical purposes, decoration, or display, the skills you learn in this process can be applied to a variety of other projects. Remember, safety is paramount, so take care when handling hot materials and sharp tools. Happy crafting!
-
Wrought Iron Components: Timeless Elegance and Structural StrengthNewsJul.28,2025
-
Window Hardware Essentials: Rollers, Handles, and Locking SolutionsNewsJul.28,2025
-
Small Agricultural Processing Machines: Corn Threshers, Cassava Chippers, Grain Peelers & Chaff CuttersNewsJul.28,2025
-
Sliding Rollers: Smooth, Silent, and Built to LastNewsJul.28,2025
-
Cast Iron Stoves: Timeless Heating with Modern EfficiencyNewsJul.28,2025
-
Cast Iron Pipe and Fitting: Durable, Fire-Resistant Solutions for Plumbing and DrainageNewsJul.28,2025
-
 Wrought Iron Components: Timeless Elegance and Structural StrengthJul-28-2025Wrought Iron Components: Timeless Elegance and Structural Strength
 -
 Window Hardware Essentials: Rollers, Handles, and Locking SolutionsJul-28-2025Window Hardware Essentials: Rollers, Handles, and Locking Solutions
 -
 Small Agricultural Processing Machines: Corn Threshers, Cassava Chippers, Grain Peelers & Chaff CuttersJul-28-2025Small Agricultural Processing Machines: Corn Threshers, Cassava Chippers, Grain Peelers & Chaff Cutters


