How to Replace Sliding Door Rollers for Smooth and Easy Operation at Home
Changing Sliding Door Rollers A Step-by-Step Guide
Sliding doors are a popular feature in many homes and offices, providing easy access to patios, balconies, and even interior spaces. However, over time, the rollers that allow these doors to glide smoothly can wear out or become damaged, leading to difficulty in operation and potential safety hazards. If you’re facing issues with your sliding door, changing the rollers can be a straightforward solution. Here’s a step-by-step guide to help you through the process.
Step 1 Gather Your Tools and Materials
Before you begin, it's essential to have all the necessary tools and spare parts on hand. You will need - A screwdriver (flat-head and Phillips) - A utility knife - A vacuum or dustpan - New sliding door rollers (specific to your door model) - Safety goggles - A helper (optional for larger doors)
Make sure to check the manufacturer’s specifications for the correct type of rollers for your sliding door to ensure a proper fit.
Step 2 Remove the Sliding Door
To access the rollers, you’ll first need to remove the sliding door. Begin by locating the screws on the top and bottom tracks. Use a screwdriver to remove these screws carefully. Depending on the design, you may need to tilt the door slightly as you lift it off the track. If the door is heavy, it’s advisable to have someone help you lift it out to prevent injury or damage.
Step 3 Inspect the Rollers
Once the door is removed, check the condition of the rollers. If they are cracked, misaligned, or jammed, it's clear they need to be replaced. Additionally, inspect the track for debris, dust, or any foreign objects that may have contributed to the malfunction. Cleaning the track with a vacuum or a damp cloth is essential before installing new rollers.
changing sliding door rollers

Step 4 Replace the Rollers
To replace the rollers, look for the clip or screw that holds them in place. Use a screwdriver to remove this fastener and gently take out the old roller. Take your new roller and align it with the track. Secure it in place by tightening the screw or clip. Repeat this process for the other roller. Ensure that both rollers move smoothly and are properly aligned in the track.
Step 5 Reinstall the Sliding Door
With the new rollers in place, it’s time to reinstall the sliding door. Position the door at an angle, carefully placing the top roller in the upper track first. Once secured, lower the door to fit the bottom roller into the lower track. Make any necessary adjustments to ensure the door is level and operates smoothly.
Step 6 Secure the Door and Test It
After the door is in place, reattach any screws you removed earlier. Test the sliding door by opening and closing it several times. It should glide effortlessly without sticking or wobbling. If you notice any issues, double-check the alignment of the rollers and the track to ensure everything is functioning correctly.
Conclusion
Replacing sliding door rollers is a manageable DIY task that can enhance the functionality of your doors while saving you the cost of professional help. With the right tools and a bit of patience, you can ensure that your sliding doors operate smoothly and safely for years to come. Regular maintenance and timely roller replacement can significantly prolong the life of your sliding doors, making your living spaces more accessible and enjoyable.
-
Plough Wheel Cast Iron Material Enhances Load-BearingNewsNov.10,2025
-
Cast Iron Cooking Stove Heat Retention Ensures Even Food HeatingNewsNov.10,2025
-
Rubber Strip Shock Absorption Protects Window EdgesNewsNov.10,2025
-
Aluminum Profiles High Corrosion Resistance Suits Coastal AreasNewsNov.10,2025
-
Window Handle Aluminum Material Ensures Lightweight DurabilityNewsNov.10,2025
-
Sliding Roller Plastic Housing Fits Aluminum Sliding WindowsNewsNov.10,2025
-
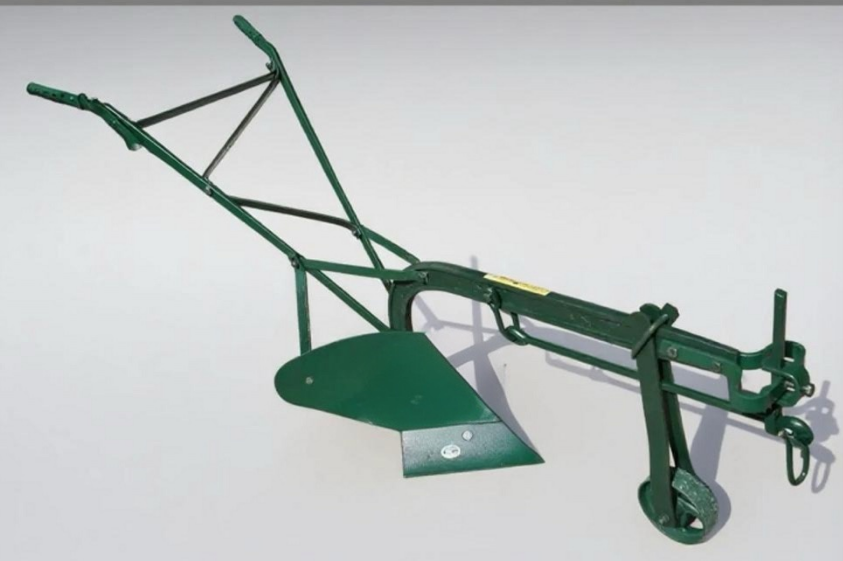 Plough Wheel Cast Iron Material Enhances Load-BearingNov-10-2025Plough Wheel Cast Iron Material Enhances Load-Bearing
 -
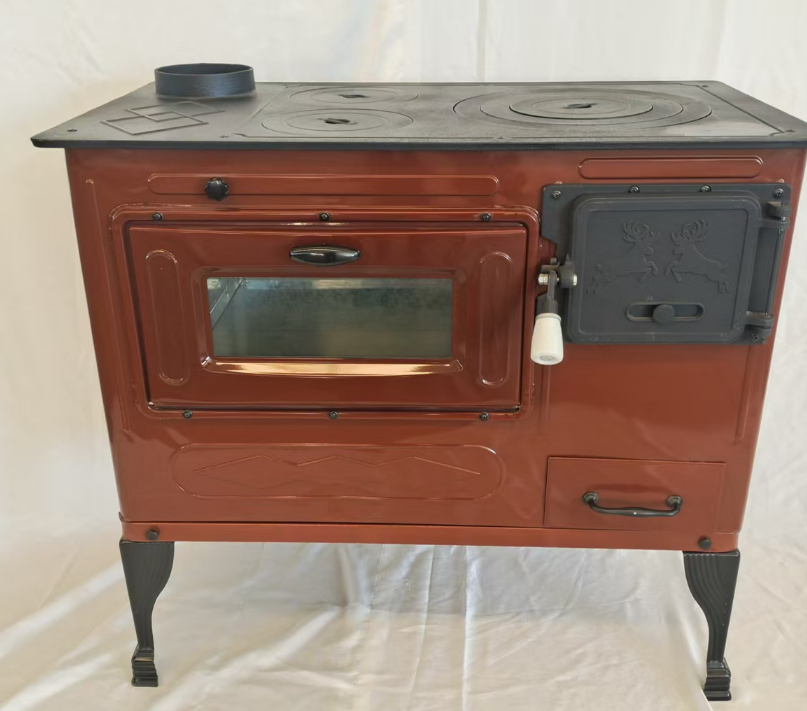 Cast Iron Cooking Stove Heat Retention Ensures Even Food HeatingNov-10-2025Cast Iron Cooking Stove Heat Retention Ensures Even Food Heating
 -
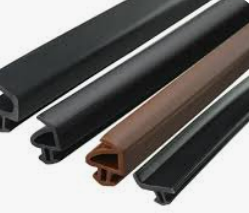 Rubber Strip Shock Absorption Protects Window EdgesNov-10-2025Rubber Strip Shock Absorption Protects Window Edges


